Wednesday 29 June 2011

Three Can Chicken and Rice

This recipe is so simple to make.  After all lol, the hardest part is cutting up the chicken breast!  I have made this recipe twice now, both times the kids have devoured it without any complaining and only compliments have flowed so it has to be good!

The first time I made it I cooked it in a large dish in the oven, which took approximately 1.5 hours to bake at 170 degrees Celcius.  This time however, I decided to give it a go in the Slow Cooker.  The results - much the same, although the slow cooker ended up with a much thicker consistency as the rice seemed to "explode" a lot more.  Either way it is definitely easy and definitely yummy.

The following recipe is the slow cooker version:  For the oven version just add an extra can or two (equiv) of water.

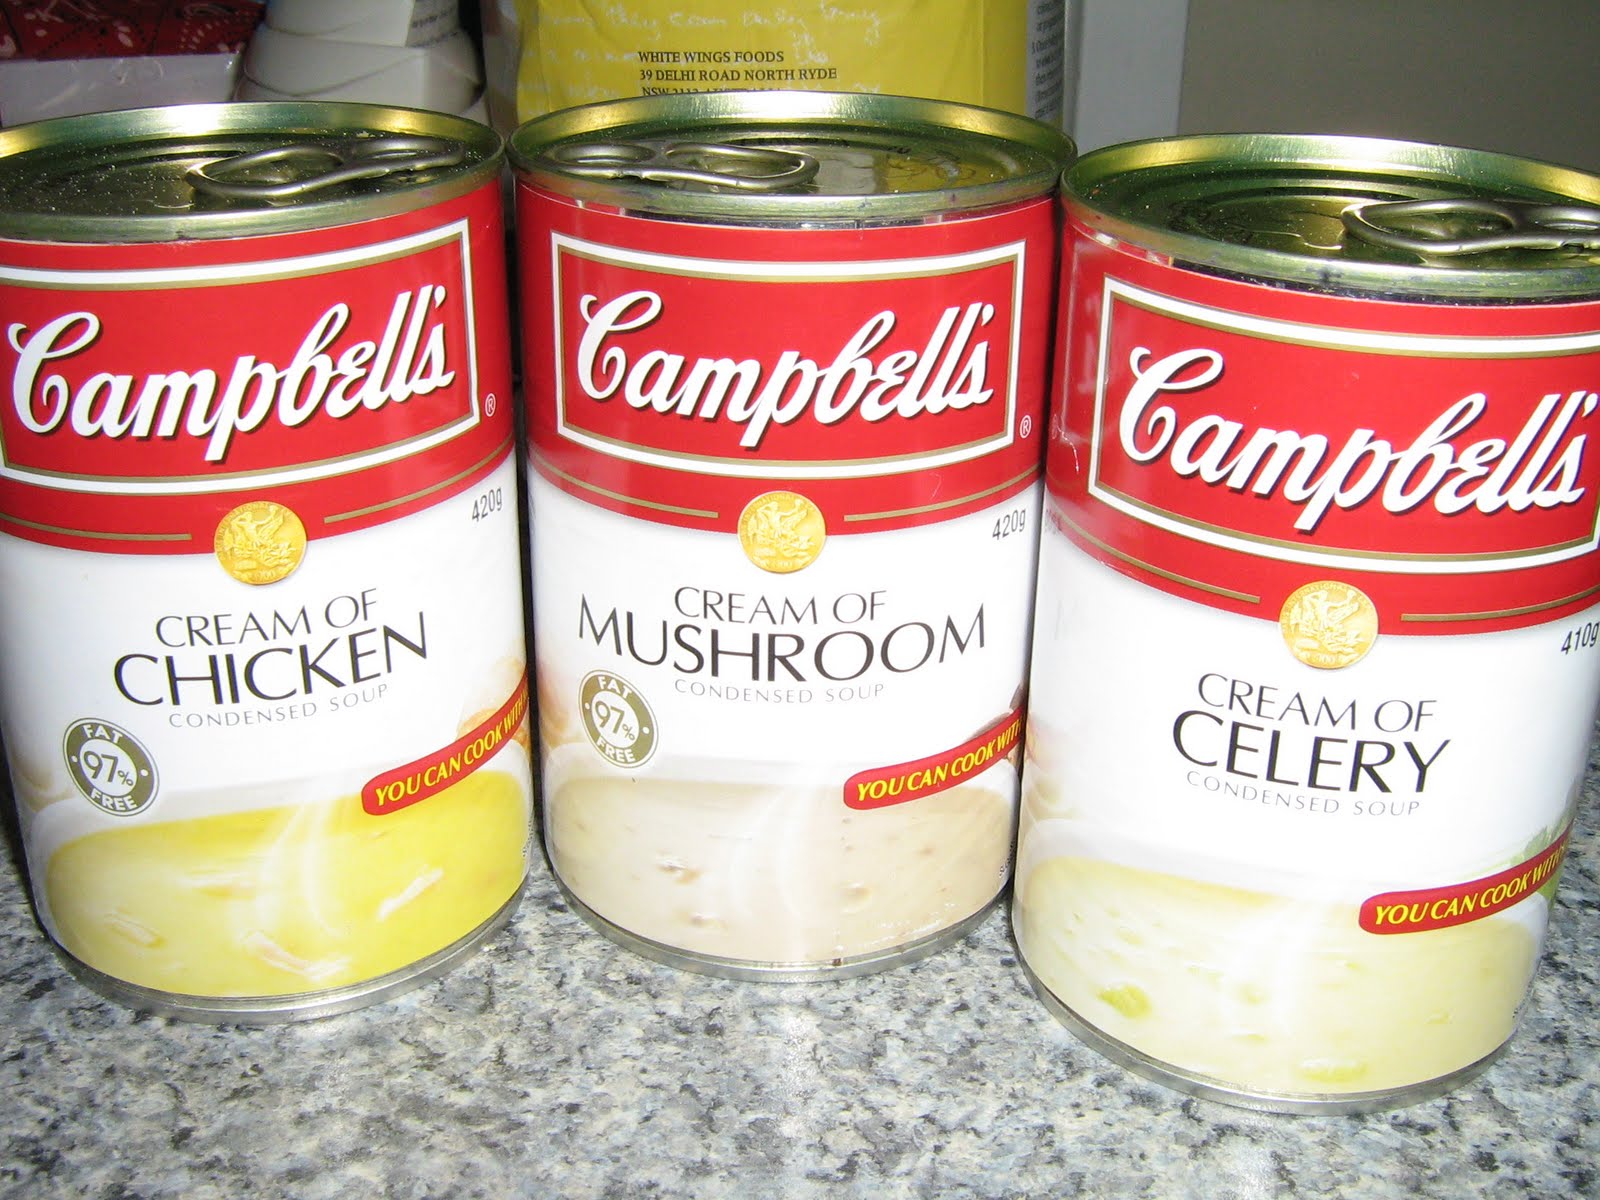
3 CAN CHICKEN AND RICE
 4 boneless, skinless chicken breasts
1 can Cream of Chicken Soup
1 can Cream of Mushroom Soup
1 can Cream of Celery Soup
440ml Water
1/4 cup of Skim Millk
1 1/2 cups Rice

Spray your slow cooker with a little spray oil.
Dice up chicken breasts into bite size pieces and place in slow cooker.


Add in your 3 cans of soup.


Fill 1 can with water and add to the slow cooker as well.
Mix altogether.


Add the Rice


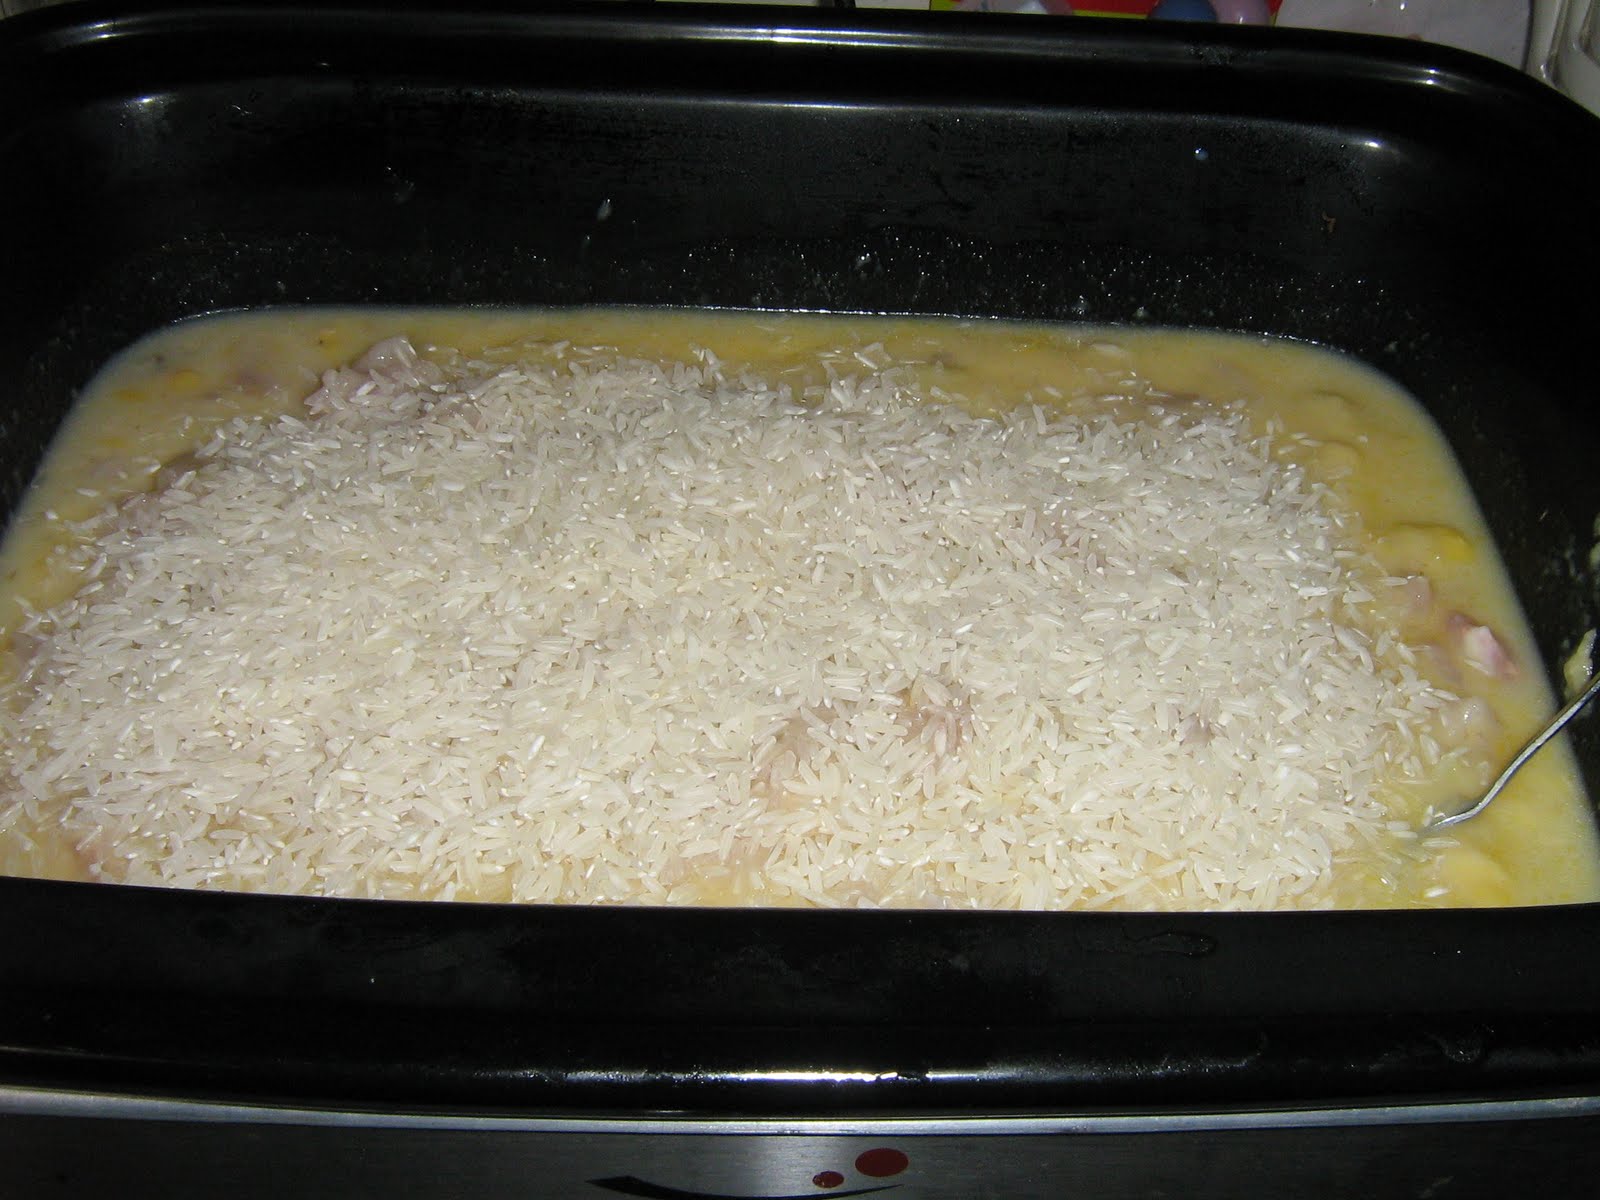
Stir through once again


Cook on the Low Setting for approximately 6 hours, turning up to High if it appears too runny.  
(Turning it up to high for just half an hour or so is enough to thicken it I found)


Serve


Believe me, this may not be the "prettiest" looking bowl of food in the world, but it certainly is tasty.

This recipe fed 6 of us a bowl of this size with about 2 bowls left over.

Wednesday 15 June 2011

Pasta with Pesto Cream Sauce

While reading one of my favourite cooking blogs the other day I came across a recipe that I just had to try.  Of course it happened to be one that I wanted to try out on hubby first as I wasn't sure the kids would like it.

On Monday it was a public holiday here so we didn't have kids to feed as the boys were at their Dad's for dinner.  I gave this recipe a try and oh wow, it was delicious.  Even Hubby who isn't a huge fan of pasta dishes enjoyed it.  I changed the recipe just a smidge by adding in baby spinach leaves because I had them there to use up lol.

And you know the best bit............?????


Wait for it..........

The kids actually liked it!!!! Yay for me lol.  All 4 boys sampled it after school on Tuesday and they all declared it nice, I was floored I tell you!
Edited to add:  I made this again last night simply because I had a bunch of basil that had to be used up and I also had cream that needed using and the kids all devoured it!!  I didn't add the baby spinach leaves to their serving but I did add tomato and capsicum and they absolutely hoovered it up!!  They asked to have it again some time soon.  Just goes to show, sometimes you just have to try new things on the kids!!

Here is the link to Ree's original recipe:  Pasta with Pesto Cream Sauce
(Have a look at her blog, it is so inspirational and really funny to read!!)


PASTA WITH PESTO CREAM SAUCE

3/4 cup fresh basil leaves
1/2 cup grated parmesan cheese
3 tablespoons pine nuts
2 cloves garlic, peeled
Salt and pepper to taste
1/3 cup extra virgin olive oil
1/2 cup thickened cream
2 tablespoons butter
1/4 cup grated parmesan cheese (additional)
360 grams pasta (I used spirals)
2 whole tomatoes, diced
Handful of baby spinach leaves, roughly chopped (this was my last minute idea)


Put pasta on to cook.
While pasta is cooking.....
Add basil leaves, 1/2 cup parmesan cheese, pine nuts and salt and pepper to a food processor or blender.
Turn on machine and then drizzle in olive oil while it mixes.


Continue blending until combined, adding additional olive oil if needed.
Set aside


Heat cream, butter and extra parmesan in small saucepan over  a medium-low heat.


Add pesto and stir.
Drain pasta and place in a serving bowl (or just leave in saucepan as I did and serve straight from that lol)
Pour pesto cream over the top.
Toss to combine.


Add diced tomatoes and baby spinach leaves and toss quickly through.


Serve immediately!

Tuesday 14 June 2011

Stuffed Capsicums

Due to Hubby buying an enormous bag of capsicums at the market last weekend, we have been having a very capsicum orientated week.  We have had several bowls of coleslaw made with added capsicum of course lol, we have had a Spaghetti Bolognese made with capsicums and also Burritos made with capsicums in the sauce and also homemade burgers complete with capsicum.  Now, while that got rid of quite a lot of capsicum, we still had alot left (the bag was very large, at least 5-6kgs of capsicums!).  So while Hubby and I were home alone on Sunday night, we decided to try a new recipe and make Stuffed Capsicums.  I searched the internet and found this recipe:  Stuffed Capsicums 

The result,,,,,,YUMMO!  The only difference we would make to the recipe is to add more spice or chilli sauce maybe next time just to give it a little more pizzazz but as a starting point this was really nice.  We are going to try this one with the kids and I think at least half of them will like it.  I figure that even for those that don't like capsicum they can always just eat the filling lol, I know they will like that bit!

STUFFED CAPSICUMS

6 medium sized capsicums
500 grams beef mince
1 large onion, diced
4 tablespoons rice
300ml water
Salt and Pepper
1 x 440ml can tomato soup
1/4 x 570 gram jar pasta sauce
large handful of grated cheese


Cut the tops off the capsicums, empty out the seeds from inside.  
Place the capsicums into a casserole dish


Fry the onion.
Add mince and break it up well.
Add pasta sauce, water and rice and simmer for 10 minutes.
(we use hubby's grandma's frying pan, somehow it always tastes better cooked in that lol)

Add salt and pepper to taste.
Stuff the capsicums with the meat mixture.

Pour the can of soup around the capsicums.  We also added about half a can of water as well to prevent it from drying out.
Sprinkle grated cheese over the top of each capsicum.

Bake in moderate oven for 55 minutes or until capsicums are soft.

Enjoy!

We left these in a little too long as you can see by the cheese but these were delicious.  We had two each and then had another 1 each for lunch the next day.

This would be a great meal for a crowd as it is so easy to make and takes very little time!


Friday 10 June 2011

Impossible Quiche

This recipe is quick and easy.  You can literally have it in the oven within about 15 minutes and on the table within another 30-40 minutes (depending on your oven lol).

This can easily be doubled/tripled and put into a casserole dish or a lasagne dish if you have a larger crowd, it will just need a longer cooking time.

The pictures I have included were of a quiche I made for a "Cultural Day" in Shortstuff's class.  Therefore, I made it pretty bland as it was serving predominantly 8 and 9 year olds, many of whom had never had quiche before.  Normally I add tomato and anything else I feel like.

IMPOSSIBLE QUICHE

1 1/2 Cups Milk
1/4 Cup melted Butter
3 Eggs
2/3 Cup Self Raising Flour

FILLINGS
Whatever you fancy - eg finely chopped onion, ham, mushrooms, flaked salmon, lightly cooked spinach, diced cooked chicken, corn, capsicum, tomato the choices are endless.


Dice up the filling ingredients


And place all filling ingredients into a lightly oiled quiche dish


Into a large mixing bowl, place your milk, eggs and melted butter


Add the Self Raising Flour


And whisk it all together


This may still be a little lumpy but thats okay, it doesn't have to be super smooth.
Grate some cheese - use whatever cheese you like or have on hand and as much or as little as you like.


Pour the milk/egg/flour mix over the fillings in the quiche dish and sprinkle with the grated cheese.


Bake in moderate oven for approximately 30-40 minutes.
Quiche is cooked when it is golden in colour and sets all the way through.


Ta-dah - One very yummy quiche which can be eaten hot or cold.
Perfect on a cold winter's night or in summer served with a salad.  Also perfect picnic food too!!
YUMMY