Showing posts with label Chicken. Show all posts

Monday, 7 November 2011

Ginger Honey Lemon Sauce........so yummy

I apologise for the lack of posts lately.  I have had a bit of a cooking flop period I believe lol.  I have tried quite a few new to me recipes but none have been particularly inspiring at all.  Don't get me wrong, its not like they have been so bad that the dogs have had to step in and save the day lol, but they haven't been recipes that we have gone "Oh that was so good, we have to have that one again" type of things.

Having said that, on the weekend I had a chance to try out 3 new recipes.  One was a cake which was really yummy and I will be posting the recipe for that tomorrow.  Another was a kind of baked custard which, although nice needs a bit of tweaking to make it stand out,,,it was rather bland.  I may make a few alterations and try it again, then maybe it may be worthy of blogging lol.

The third recipe was supposedly a Honey Lemon Chicken.  Well once I began the sauce I just knew it was more like a Ginger Honey Lemon Chicken lol.  I am only posting the recipe for the sauce here.  The part of the recipe for the chicken just didn't really work out.  The chicken looked pretty horrible lol and I sure don't want to put you off making the sauce just because of the look of the chicken on the plate.  Thankfully the meal was edible though and the sauce made it all better!!

If you are a fan of Honey Chicken, Lemon Chicken and/or just enjoy Ginger flavoured things then this one is for you.  Make up your chicken however you would like and then use this over the top or as a dipping sauce it really is quite yummy and very easy to make!!


GINGER HONEY LEMON SAUCE

1/2 Cup Honey
1/2 Cup Chicken Stock
Juice of 1 Lemon (I used 3 tablespoons of juice from a bottle)
5cm piece of Ginger, thinly shredded
2 teaspoons of Cornflour
1 tablespoon Sherry

Put the Honey, Chicken Stock, Lemon Juice and Ginger in a small heavy based saucepan.
Stir to combine, bring slowly to the boil, then reduce to a simmer and cook for 3-4 minutes.
Mix the cornflour and Sherry thoroughly together to form a smooth mixture.
Add the Sherry mix to the honey/ginger mixture and stir continuously until the mix comes to a boil.
Reduce to a simmer again and allow to cook for a further 3-4 minutes.
Serve with your chicken and enjoy!

Monday, 19 September 2011

Asian Style Chicken and Pasta Salad

OMG!!!  This dish is absolutely to die for!!


This was a first time try at this recipe last night and I just have to say that I can't wait until it is lunchtime so that I can have some more lol.   I haven't tried any with the kids yet (we were child free for a couple of hours last night) so I don't know their verdict but I have a feeling they may even like this too!!

If there is one recipe on this blog that you try, make it this one, I am sure you will agree it is totally YUMMY!!!  Of course, the best part of it being a salad you can always add in extra salad ingredients, we added in a little cabbage as well.

ASIAN CHICKEN AND PASTA SALAD

1 cup Coconut Cream
3 tablespoons Kecap Manis
Juice of 2 Limes
2 Garlic Cloves, crushed
2 Chillies, finely sliced (I just used 2 tablespoons of Chilli Sauce)
1 tablespoon freshly grated Ginger
2 tablespoons freshly chopped Coriander
4 skinless Chicken Breasts, sliced into strips
2 cups uncooked Pasta Spirals
8 Snowpeas, sliced
1-2 Carrots, sliced julienne style
Handful of Bean Shoots
12 Cherry Tomatoes, quartered
Large Handful of Wild Rocket
1/2 Avocado, chopped

Whisk up the Coconut Cream, Kecap Manis, Lime Juice, Garlic, Chilli Sauce, Ginger and Coriander to form a marinade.
Pour 2/3rd of the marinade over the chicken, reserving the rest of the marinade to be used as a dressing.
Gently mix through to ensure all the chicken is covered, cover the bowl and place in fridge for 2-3 hours.
When ready to cook, boil the pasta until tender.
Pan fry the chicken in a non stick pan, adding the marinade a little at a time as the chicken cooks.  Be careful not to burn the chicken!
Blanch the snowpeas, carrots and bean shoots (and cabbage if you added some :-)   )  Drain well.
Place the Tomatoes, Rocket and Avocado in a large bowl and toss with the cooked vegetables.  Add the pasta and toss through.
Serve onto your serving plates, placing the chicken pieces on top.
Dress with a drizzle of the reserved marinade.


Enjoy!!!
This recipe easily serves 4 adults as a main course.

Tuesday, 23 August 2011

Honey Soy Chicken

This was actually meant to be two recipes in one.  This was meant to be a delicious chicken recipe with a equally delicious Wild Rice recipe to go with it.  Some times what is meant to be just doesn't happen.  On the weekend I thought it would be great to try out two new recipes and combine them in one meal.  I thought Honey Soy Chicken with some Wild Rice on the side sounded pretty good.  Well it did taste pretty good, the chicken was delicious,,,,,the Wild Rice was okay, just okay, hence the reason I won't post the recipe here.  If I had aimed for a Risotto style rice dish I would have been closer to the mark I think.  The recipe was for a Wild Rice cooked in the slow cooker.  We ended up with something resembling mush.  The flavour was okay but we didn't use the leftovers for lunch the following day which is pretty good indication that it kinda sucked lol.

So here we will present for your tastebud's enjoyment, the other half of our meal, the Honey Soy Chicken.  Although I'm not ever terribly thrilled with recipes requiring battering or crumbing, I decided to give this one a go....besides I had Hubby here to do the battering lol.  We had never tried the asian style batter before,,,you know the one that you get on the pork and chicken in chinese restaurants.  I had always wondered how they made it so light and crispy,,,,,now I know :-D


HONEY SOY CHICKEN

400 grams Chicken, cut into either strips or cubes
1/3 cup Plain Flour
1/3 cup Water
1 1/2 Tablespoons Peanut Oil
2 Egg Whites
Vegetable Oil for deep frying

Honey Soy Sauce
1 tablespoon Peanut Oil
2 cloves Garlic, crushed
1 tablespoon freshly grated Ginger
1 tablespoons Salt Reduced Soy Sauce
1/4 cup Honey
1 tablespoon Dry Sherry
1/3 cup Chicken Stock
1 1/2 teaspoons Corn Flour
1 teaspoon water


Chicken
Whisk the flour and water together in a medium sized bowl.
Whisk in the Peanut Oil and whisk until smooth.
Allow to stand for 30 minutes
Beat the egg whites in a small bowl until soft peaks form, gently fold into the flour mixture in two batches.

 
Dip the chicken into the batter and deep fry immediately in hot vegetable oil in batches for about 5 minutes or until brown and tender.
Drain on paper towel.


Honey Soy Sauce

Heat oil in small saucepan.  Add the garlic and ginger and cook, stirring for 1 minute.
Add the soy sauce, honey, sherry and stock, cook stirring for a further 3 minutes or until it slightly thickens.
Stir in the blended cornflour and water, stir over heat until it boils and thickens.


Place chicken on plate and top with Honey Soy Sauce.


This recipe is best made just before serving.
Not suitable to freeze or microwave.

Thursday, 11 August 2011

CRISPY DRUMSTICKS - Another Kid Friendly and Approved Recipe

This recipe was quite yummy.  The kids all liked it (after all what child doesn't like chicken that slightly resembles KFC!!).  Originally this recipe was supposed to be a low fat version, but as I was in a hurry and quite honestly couldn't be bothered skinning my chicken drumsticks, they got coated with the skin on.....extra fat and calories but hey,,,,they were yummy remember!! Lol.  I also made up a few chicken wings as well since one of the kids prefers wings.


These recipes are great because you can add extra herbs/spices to your crumbing mix, as you see fit.  This time I stuck with the recipe and they tasted fine.  Next time I may add a little more spice to it just to zing it up a little but believe me, these things disappeared at a great rate of knots in my house!!

CRISPY DRUMSTICKS

1/2 cup packet breadcrumbs
1/2 teaspoon garlic powder
1/2 teaspoon onion powder
1 teaspoon mixed herbs
1 egg, lightly beaten
1 tablespoon milk
8 chicken drumsticks, skinned (or not lol)
vegetable oil cooking spray

Combine the first 4 ingredients in a shallow dish, mix through well. 
Combine egg and milk in a small bowl, mixing well.


Dip each drumstick into the egg mix, then roll in the breadcrumb mixture.
Place drumsticks in a baking dish which has been sprayed with cooking spray.


Bake uncovered at 200 degrees celcius for approximately 45 minutes or until done (my oven took about an hour,,,,,don't you just love some ovens!! lol)
Turn occasionally during cooking.

I found the coating stuck to the chicken really well.  Normally when I crumb things I like to put them in the fridge for about an hour for the coating to stick but I was running late and didn't have time to do this and the crumbs stuck perfectly.

Serve with salad or veg.  As usual in our house, it is Mashed Potato and mixed Veggies (I know it is boring but hey, all the kids eat it lol and if I can get some veggies into them I will do anything!)


Tuesday, 2 August 2011

CRISPY CHICKEN STRIPS - Kids love this!


In our family we eat alot of chicken.  As you will soon see by this blog, chicken is one of our favourite meats, one that doesn't get rejected no matter what form it comes in normally.  This recipe is simple and it is great to use for fingerfood for a party or as we did last night, serve it up with salad and potato bake or the like for a lovely meal that the kids will love.  The kids have all taken a couple to school today in their lunchboxes since they are perfect served cold as well.  Hubby and I both had them for lunch and there is still enough for the kids lunchboxes for tomorrow too.  Not bad from 1200 grams of chicken breast.  As you will see, the recipe calls for 500 grams of chicken breast but due to family size I always double it, plus I wanted to ensure we had left overs this time :-)


CRISPY CHICKEN STRIPS

500 grams chicken breasts - cut into strips
1/2 Cup Flour - you can add whatever seasoning you like to this
1 Large Egg - beaten
1 Cup dried breadcrumbs


Slice chicken breasts into strips


Place chicken strips into flour, then the egg, and lastly the breadcrumbs.  Coat well, using a knife to press the crumbs onto the chicken.


Place crumbed chicken strips onto a plate and place in fridge for approximately 30 minutes just to "set" the crumbs a little.


Deep fry or shallow fry over a moderately high heat for approximately 3 minutes each side.
Drain on paper towel, then serve with salad or veggies.....don't forget the tomato sauce for the kids lol.

Tuesday, 26 July 2011

Almond Chicken Breasts

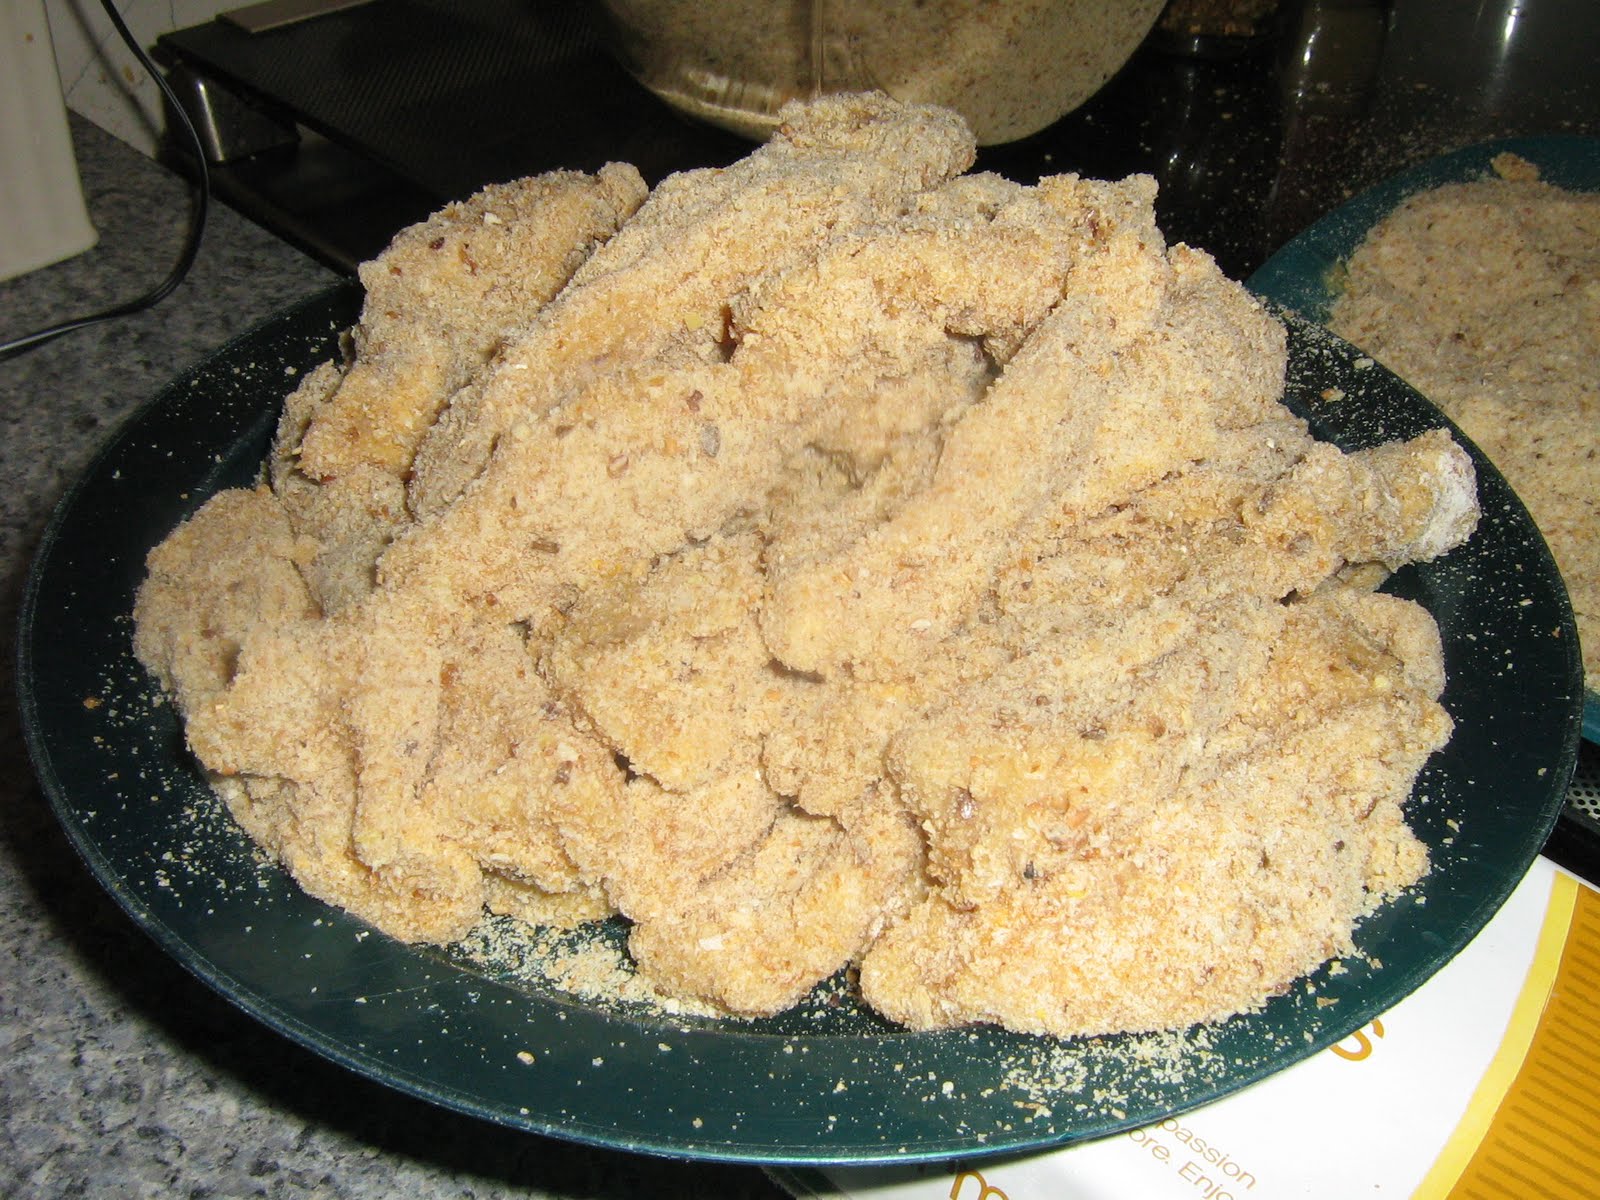
This recipe is one that I would normally put in the "fiddly basket" as it requires crumbing (something I don't particularly enjoy doing lol), but this recipe is so worth it!  The result of this recipe is a fantastically moist chicken schnitzel with a slight nutty flavour.  All of the kids enjoyed this and didn't even realise it had almonds in it!


ALMOND CHICKEN BREASTS

6 Chicken Breasts
1 cup Milk
1/2 teaspoon Curry Powder
1/4 teaspoon Nutmeg
1/2 teaspoon Salt and Pepper
1/2 teaspoon dry English Mustard
Pinch of dried mixed herbs
1 Egg
2 teaspoons Oil
1/2 cup Breadcrumbs
1/4 cup finely chopped almonds
Plain Flour, seasoned
2 extra tablespoons Oil
30 grams Butter

Slice the chicken breasts in half through the middle, this allows for thinner schnitzels.
Soak the chicken breasts in the milk, mixed with curry powder, nutmeg, salt, pepper, mustard and mixed herbs, in the fridge for 24 hours.
The next day drain.


Chop the almonds finely, you can either chop by hand

or cheat and use the food processor :-)


  Place flour on plate for dipping
Beat the egg and 2 teaspoons of oil together and place in a bowl for dipping
Mix breadcrumbs and almonds together and place on a plate for crumbing.


Dip the chicken breasts in flour first, then the egg, then the breadcrumbs and almond mixture.  Place on plate and put back in fridge for approximately 30 minutes or so just to allow the crumb mixture to set a little.


Heat together the oil and butter in a large pan and fry the chicken breasts until golden brown and tender (You could deep fry them if you have a deep fryer, which is what we did).


These Schnitzels should stay very moist.  Serve immediately with veggies or salad (ignore my picture lol, I forgot to take a photo of our dinner plate after I served it up so all you get to see is the left overs :-)  )

Wednesday, 29 June 2011

Three Can Chicken and Rice

This recipe is so simple to make.  After all lol, the hardest part is cutting up the chicken breast!  I have made this recipe twice now, both times the kids have devoured it without any complaining and only compliments have flowed so it has to be good!

The first time I made it I cooked it in a large dish in the oven, which took approximately 1.5 hours to bake at 170 degrees Celcius.  This time however, I decided to give it a go in the Slow Cooker.  The results - much the same, although the slow cooker ended up with a much thicker consistency as the rice seemed to "explode" a lot more.  Either way it is definitely easy and definitely yummy.

The following recipe is the slow cooker version:  For the oven version just add an extra can or two (equiv) of water.

3 CAN CHICKEN AND RICE
 4 boneless, skinless chicken breasts
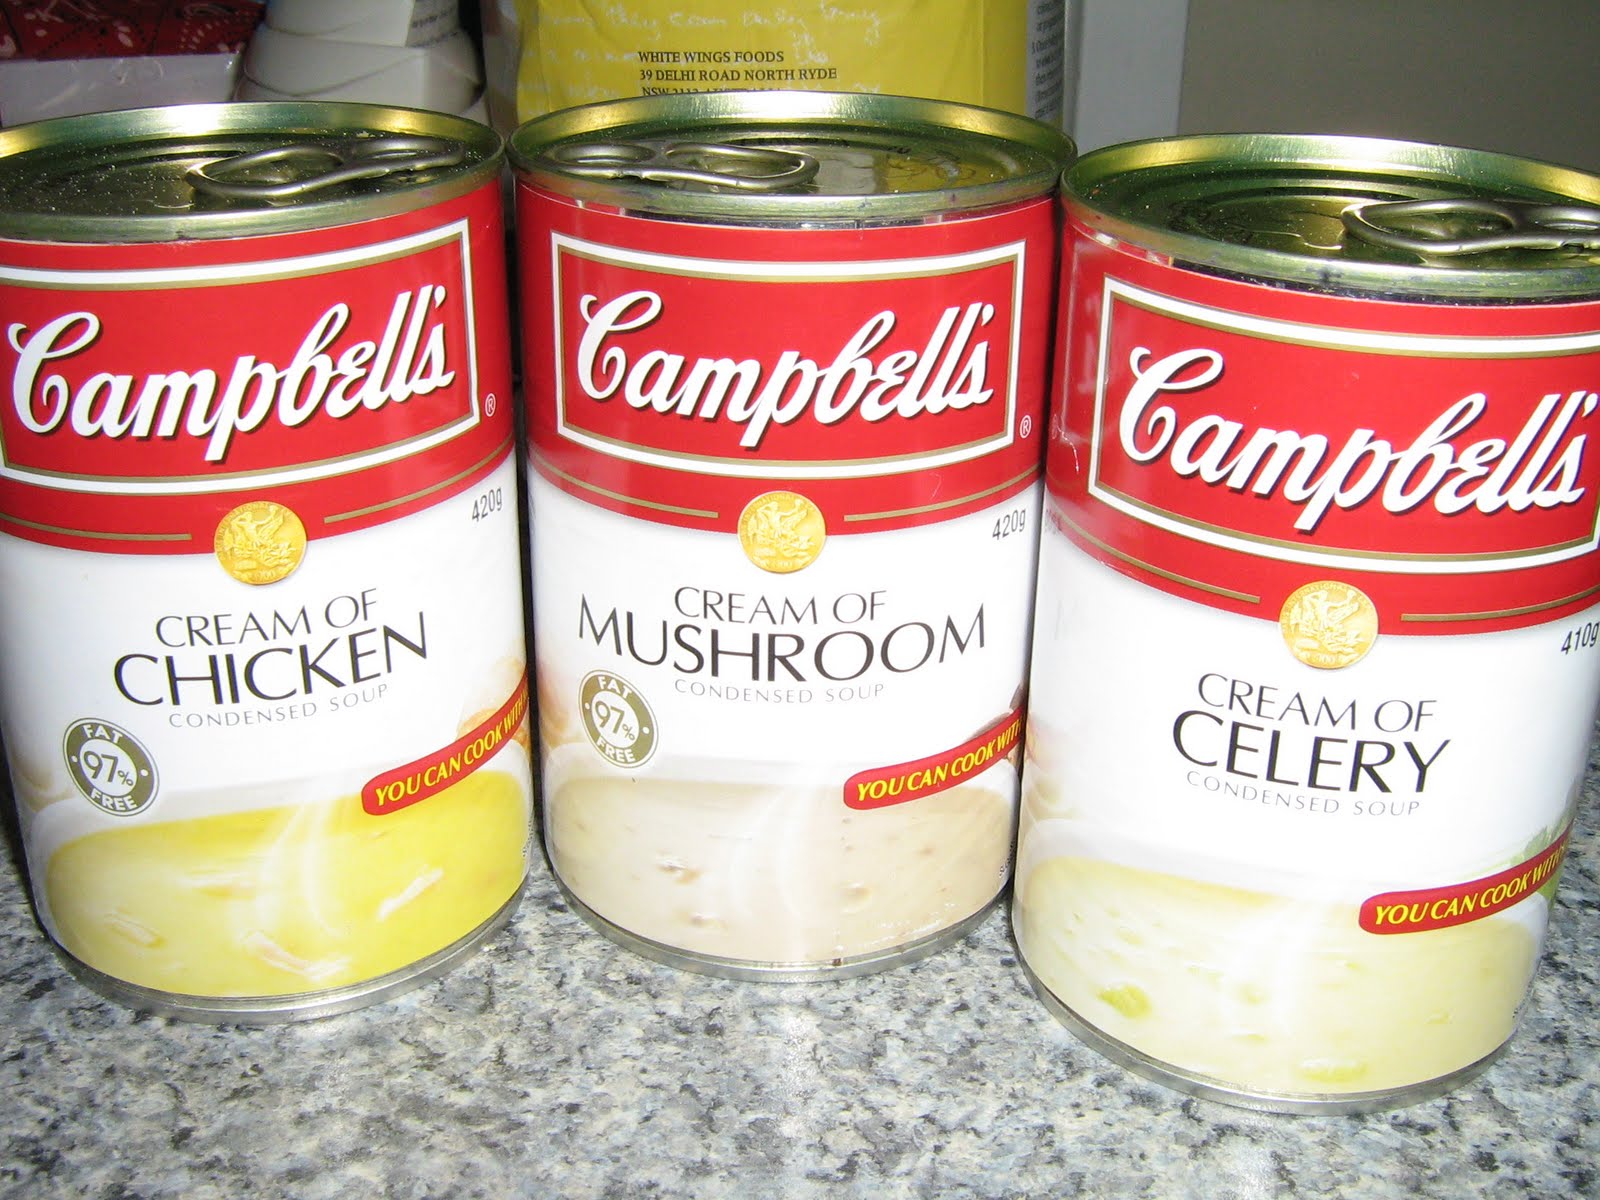
1 can Cream of Chicken Soup
1 can Cream of Mushroom Soup
1 can Cream of Celery Soup
440ml Water
1/4 cup of Skim Millk
1 1/2 cups Rice

Spray your slow cooker with a little spray oil.
Dice up chicken breasts into bite size pieces and place in slow cooker.


Add in your 3 cans of soup.


Fill 1 can with water and add to the slow cooker as well.
Mix altogether.


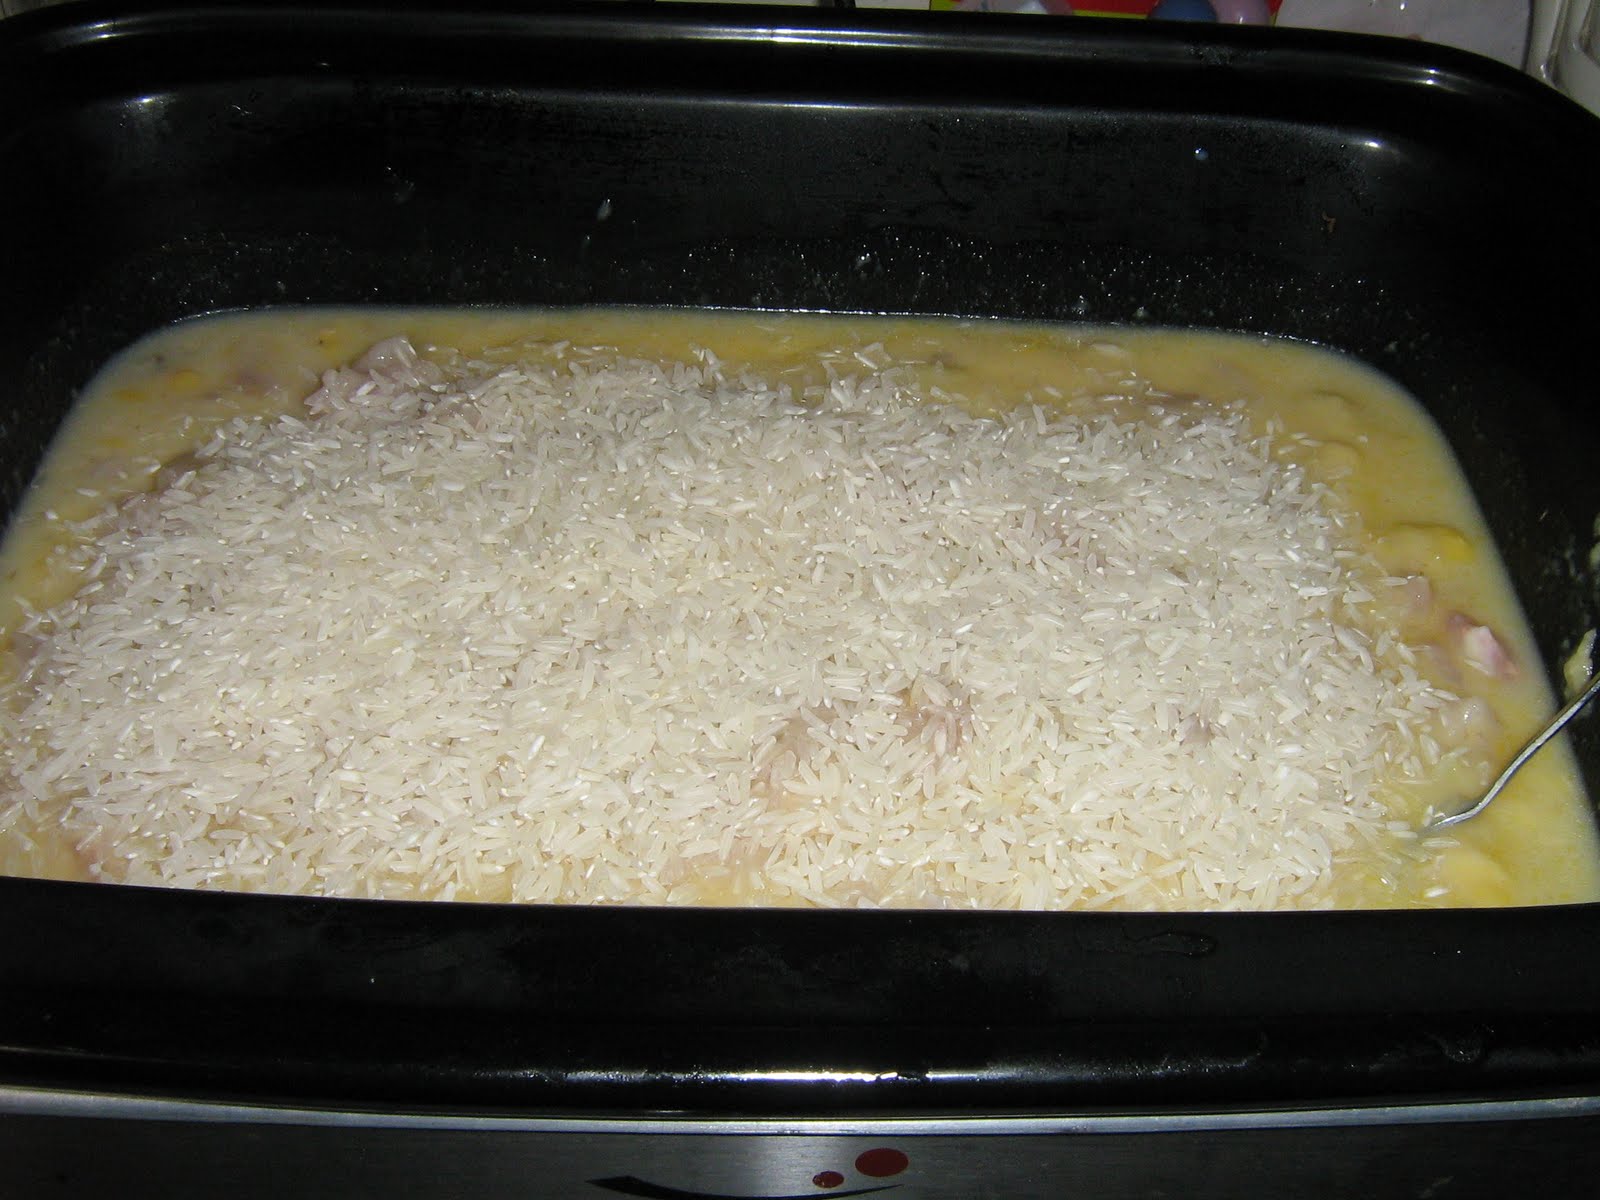
Add the Rice


Stir through once again


Cook on the Low Setting for approximately 6 hours, turning up to High if it appears too runny.  
(Turning it up to high for just half an hour or so is enough to thicken it I found)


Serve


Believe me, this may not be the "prettiest" looking bowl of food in the world, but it certainly is tasty.

This recipe fed 6 of us a bowl of this size with about 2 bowls left over.