Wednesday, 15 February 2012

Chocolate Cereal Crumb Slice

I have been so slack in the cooking department lately.  My brain hasn't been able to get past the quick and easy food that I have been making for years.  No new recipes have been cooked, which is pretty sad really.  Now that school is back, I hope to regain my cooking mojo and start working through my cookbooks again.

This recipe was selected for its super fast making time and the fact that I had everything on hand last Saturday morning lol.  I desperately needed something for this week's lunchboxes and wanted to try something new at the same time.  This recipe filled those requirements.

The kids loved this, well all except Buddha cuz he don't like chocolate lol.  You can add dried fruit to it as well if you like but since I didn't have any on hand, I left it out.


CHOCOLATE CEREAL CRUMB SLICE

2 cups of dried cereal crumbs (I used the crumbs from the Vita Brits)
1 cup of Flour (any flour will do)
1/2 cup Coconut
2/3 cup Sugar (brown or white)
1 cup of Chocolate Chips (I used some Nestle Chocolate Melts)
1/2 cup of any Dried Fruit (I left this out)
120 grams melted butter or margarine
1-2 tablespoons Milk

Melt the butter in microwave or on stove top.
Add all other ingredients and enough milk to get a slightly moist consistency.
Mix well.
Press into a lined lamington tin and bake in moderate oven for about 30 minutes.
You can ice it if you like but it really doesn't need it.


Trust me, its good!!!

Monday, 30 January 2012

Sausage Casserole

This is a new to me recipe and one that I have no idea where it came from.  Somewhere in cyberland is my guess.  I have to say though that it smelt really yummy as it was cooking and it tasted pretty darn good too.  All the kids enjoyed it, even the Jayman who doesn't usually like any type of sausage bake type of meal.

While this recipe certainly doesn't rate high on the "healthy" eating register, it is certainly a wonderful winter warming recipe.  The smell that filters through the house is just delicious and reminds me of cold winter days lazing around the house drinking hot chocolates and reading books lol.  The fact that I have chosen the middle of summer to try this recipe out is a whole different story but thats beside the point lol.

This is a cross between a Shepherds Pie and a Devilled Sausage type of meal I would say.  I made a big batch as I wanted left overs for lunches the next day (the joy of school holidays lol) but you can cut it down accordingly.  I will definitely be making this again but I think next time I will only use one packet of the french onion soup mix and as thought it made it just a little salty, but I will taste test the sauce mix before I mix it together and can easily add another packet if need be :-)

This recipe is based on the size of serve that I made.  This size was baked in my large baking tray and fed 5 for dinner with seconds and then there were 6 serves left over for lunch the following day.


SAUSAGE CASSEROLE

Potatoes (use your own judgement, you need enough to make mashed potato to cover your chosen baking dish)
Milk to mash the potatoes
Butter to mash the potatoes
2 Tablespoons Olive Oil
2 Brown Onions, sliced
1.5 kgs Sausages 
Frozen mixed veggies of your liking (use as much or as little as you like)
1/2 cup Tomato Sauce
1/2 cup BBQ Sauce
2 Tablespoons Worcestershire Sauce
2 x 35gram packets of French Onion Soup Mix
2 Tablespoons Plain Flour
Grated Cheese to top

Dice potatoes and place in saucepan with cold water.
Bring to boil over high heat.  Reduce heat to medium-low and simmer for 20-25 minutes or until tender.
Drain.
Add butter and milk and any seasoning you may like.
Mash until smooth.

Preheat oven to 200 degrees celcius
Heat oil in deep frying pay over medium heat.
Add onion and cook for 3 minutes or until browned.
Chop the sausages into bite sized pieces.
Add to frying pan and cook, stirring occasionally.
Add in the mixed veggies, continuing to stir occasionally.
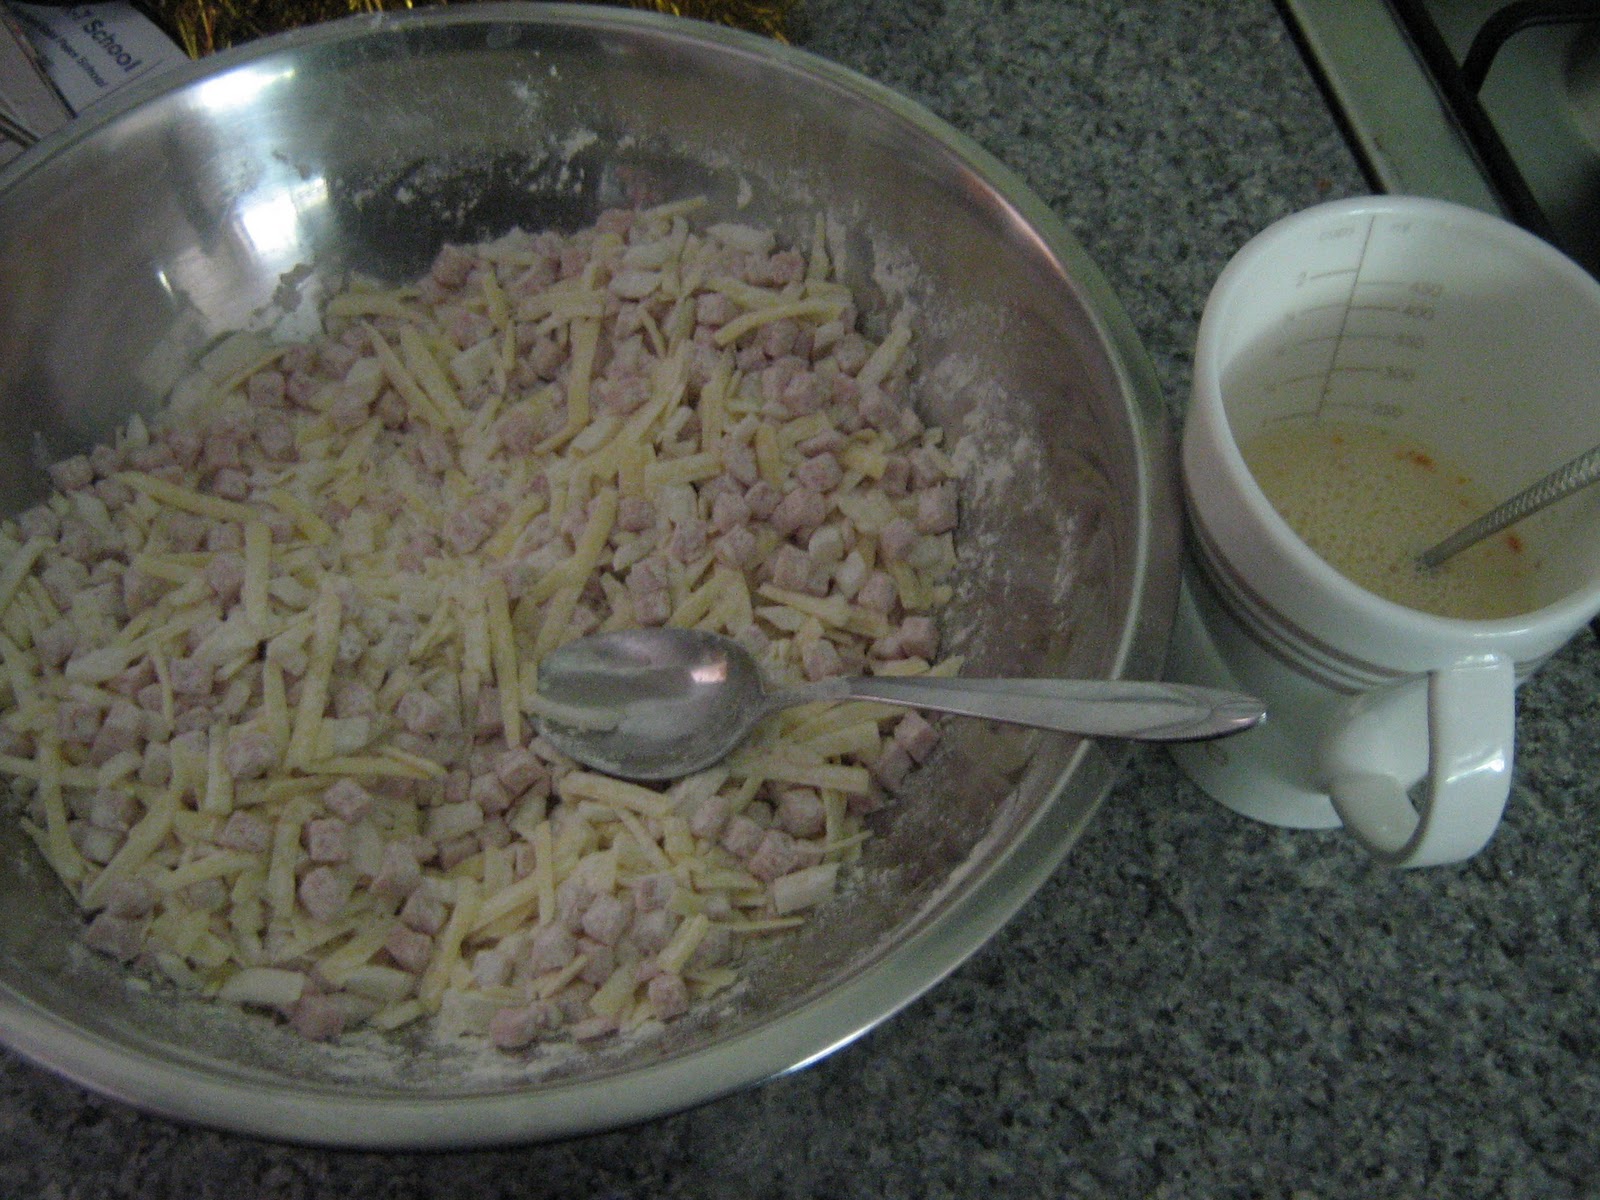
Whisk tomato sauce, bbq sauce, Worcestershire sauce, soup mix, flour and 1 1/2 cups of water together in a jug.
Stir the sauce mix into the sausages and bring to the boil.
Spoon the mixture into a large casserole dish or baking tray.
Top with the mashed potato.
Sprinkle with grated cheese.
Bake for approximately 30 minutes in oven.
Enjoy with salad and a bread roll 
 (No meal like this can possibly be served with out a little bread roll according to my boys lol)


Thursday, 19 January 2012

Boiled Fruit Cake - My Mum's recipe

This recipe is very dear to me.  My Mum made this countless times and it is one of the only recipes I got her to actually write down for me.  I am so glad I did!

I'm not a huge fruit cake lover but I have always eaten my Mum's fruit cakes.  I used to call them the Fruit cake for people who don't like Fruit Cake lol.  Even my Hubby likes this cake and he doesn't usually eat Fruit Cake at all.  Stinky and Buddha don't usually like anything with sultanas in it but both quite like this cake.

This is the cake that I got my mum to make for my first wedding.  She was determined that wedding cake should be a fruit cake,,,,,back then I hated all fruit cakes except hers and used to hate wedding cakes.  I didn't even want fruit cake for the wedding but she insisted so I compromised and said that if she made the cake then I would have fruit cake.  Lol I won that battle!

I hope this recipe continues to get passed down from generation to generation in my family.


BOILED FRUIT CAKE

225 grams Butter or Margarine
1 cup Sugar
1 packet Mixed Fruit
1 packet Glace Cherries
2 teaspoons Mixed Spice
1 teaspoon Carb Soda
1 cup Water

2 Eggs
2 tablespoons Treacle
1 cup Plain Flour
1 cup Self Raising Flour


Place all ingredients from Butter/Margarine through to Water into a saucepan and bring to the boil.
Allow to cool

Fold beaten eggs into the above mix.
Add Flours and Treacle and mix well so it is thoroughly combined (just use a wooden spoon to do this, no mixer required)

Pour mixture into a well greased/lined tin and cook at 160 degrees Celsius for approximately 1 1/2 hours.


This cake keeps well and is lovely and moist with a lovely light flavour.

Monday, 16 January 2012

Christmas Wreath - or anytime you feel like something really quick to whip up lol

This is one of my children's favourites.  It is something they all eat and agree on (which is a rarity believe me!).  I always make on at Christmas time hence the name, but I have been known to whip one up at any time of the year and just change the decorations a little.

Here is the one I made this Christmas,,,,sorry for the lack of photos of it cut into serving size lol.


So easy and simple to whip up.


CHRISTMAS WREATH

2 packets of Butter Snap biscuits (these are my kid's favourite but I sometimes use Ginger Snaps as they are nice and hard and give it a whole new flavour, yummy)
600ml thickened cream
Vanilla Essence
Castor Sugar
Lollies to decorate

Simply whip the cream until nice and thick.
Whip in a dash of Vanilla and a sprinkling of castor sugar (taste test and add as much sugar/vanilla until the taste is right for you.
Then it is simply a matter of assembling the wreath.
Simply put a dab of cream on a biscuit and then continue to do this, building your biscuits into a wreath shape.
Cover the whole thing in cream and then decorate to your liking with lollies.

Allow to rest in the fridge for a few hours to allow the biscuits to soften and absorb the cream a little .
Slice and serve with a scoop of icecream or just simply on its own.

Wednesday, 21 December 2011

White Christmas

This year my Christmas baking is turning into a very last minute type of event,,,,I hate that but I guess sometimes you have to just go with the flow in today's busy world.

On Monday Stinky, Shortstuff and I made up a batch of White Christmas.  Personally I like it with sultanas in it but due to 3 out of the 6 kids hating sultanas we decided to leave them out :(

So if my pictures look like something is missing, you are right lol.  If it wasn't for the fact that if I made another batch with the sultanas in it I would end up eating the majority of it, I would be in the kitchen right now mixing it lol.

So here we have it, our family's White Christmas!  (I apologise for the picture,,,my camera is doing strange things lately!)


WHITE CHRISTMAS
(Recipe is from "The Complete Step-by-Step Christmas Cookbook")


1 cup Dessicated Coconut
1 cup Full Cream Powdered Milk
1 cup Pure Icing Sugar, sifted
1/4 cup Raisins  (I usually use sultanas instead)
1/4 cup Glace Cherries, chopped
1/4 cup chopped Glace Pineapple
1/4 cup Mixed Peel
2 cups Rice Bubbles
250 grams Copha
1 teaspoon Vanilla Essence

Place all ingredients (except Copha and vanilla essence) in a large mixing bowl.
Place copha and vanilla essence in a heavy-based saucepan, and heat gently until the Copha melts.
Stir into the dry ingredients.
Continue stirring until well combined.
Press the mixture into a lightly greased lamington tin.
Smooth the top with a spatula.
Chill until firm and cut into fingers.
Store any leftovers in a covered container in the fridge.

Best used within 3-4 days.

Tuesday, 20 December 2011

Cheese and Bacon Rounds - so easy to make


Okay, school holidays are upon us and lunches for the kids tend to stretch the brain a little in this house, none of them wanting the same type of things they take for school lunches.  So in the interest of easy things to make that you can whip up in about ten minutes and the kids actually love, I discovered this recipe.  Sure it has cheese and bacon and its not super healthy, but as a quick little lunch it is great.

CHEESE AND BACON ROUNDS
(Recipe taken from That's Life Cookbook - Reader Recipes - Recipe was submitted by Nicole Pisani of Doveton, Victoria)

200 grams diced bacon
2 cups grated tasty cheese
3 spring/green onions, sliced
1 cup Self Raising Flour
1/2 cup milk
1 egg
2 tablespoons french/seeded mustard


Preheat oven to 200 degrees (180 degrees for fan forced).
Grease and line a baking tray.
Place bacon, cheese, onion and flour in a large bowl and mix making sure the flour completely covers all ingredients.
Combine milk, egg and mustard in a small bowl/jug.


Add wet mixture to dry mixture and stir until combined


Spoon tablespoons of the mixture onto the lined tray.


Bake for 15-20 minutes or until golden brown.
Allow to cool on wire rack.

Friday, 9 December 2011

Carrot Cake with Lemon Icing


This cake came about because I had 1 lonely lemon sitting in my fridge.  I made this cake with Hubby in mind as he loves carrot cake but I decided to get the kids to taste it before I told them what it was.  For some reason the thought of vegetables living in our cake still makes a couple of the younger kids frown and screw their noses up, they think its just not right lol.  So they get to taste it first from now on and then I will reveal what it is.  Shortstuff still didn't like it, (That fact still won't stop me from continuing to try different carrot cake recipes though!).

The rest of the Gang found the cake pretty good.  It cuts well and the lemon icing just gives it that little bit of zing.  I found it held together well for lunch boxes too which is always a bonus.   I had a request for plain icing next time I make it but Hubby and I thought the lemon icing suited it to a tee....maybe I will ice it in half lemon and half plain lol.

CARROT CAKE WITH LEMON ICING

125 grams unsalted butter, softened
1 cup white sugar
grated rind of 1 orange
pinch of nutmeg
pinch of allspice
pinch of cinnamon
2 eggs
3/4 cup grated carrot
60 grams chopped raw almonds
1 1/2 teaspoons baking powder
pinch of salt
1 1/4 cups plain flour, sifted
up to 1/4 cup warm water
cooking spray
1 cup icing sugar
2-3 tablespoons lemon juice

Preheat oven to 180 degrees.
Beat butter until mixed well.
Add sugar and beat until light and fluffy.
Add orange zest, nutmeg, allspice, cinnamon and mix well.
Add the eggs, one at a time, continually beating.
Add carrot, almonds, baking powder, salt and flour.
Mix well with wooden spoon and add water, little by little, until a smooth consistency is reached. 
DO NOT OVER BEAT!
Spoon mixture into a sprayed springform cake tin and cook in oven for about 35 minutes until a skewer comes out clean.
Place on cake rack to cool for about 10 minutes.

To make the icing, mix together the icing sugar and lemon juice.
Pour over the cake when ready to serve.


Monday, 21 November 2011

CHOCOLATE SELF SAUCING PUDDING - SO EASY TO MAKE!

Okay, I know this is a naughty recipe but it is one that I need to share.  It is a recipe that I have been making for about 20 years now.  I haven't met anyone that has tried it and hasn't liked it,,, (well except for my  chocolate hating son that is lol).


This is quite a rich chocolate recipe and you certainly don't need a huge serve.  I usually serve up one big spoonful per person with a generous scoop of icecream.  The icecream tones down the richness of it and makes it oh so good!!!

Come on, give it a go, just once, it is pretty cheap to make and you don't even need eggs which is perfect if you are like me and frequently run out lol.  Sometimes I even just mix it straight in the casserole dish it is going to bake in (as I did this time), I didn't bother to grease the dish, I just threw the ingredients in and mixed them up.  Some days I have seen enough dishes and I like to cheat and cut down as much as humanly possible!

This recipe was  one I ripped out of a "That's Life" magazine many moons ago.  It was submitted by a Victorian lady by the name of Lauren Handcock, she mentioned she had made it countless times and I can proudly say that I have too.  It is so fast and simple to whip up and can easily be doubled to cater for extras.


CHOCOLATE SELF SAUCING PUDDING

PUDDING
60 grams Butter
1/2 cup Milk
1 teaspoon Vanilla
3/4 cup Castor Sugar
1 cup Self Raising Flour
1/4 cup Cocoa

SAUCE
2 tablespoons Cocoa
1/2 cup Brown Sugar
1 1/2 cups Hot Water

Preheat oven to a 180 degrees.
Lightly grease a shallow 4 cup casserole dish with butter (I have been known to skip this and it hasn't caused any problems :-)   )
Heat the butter and milk over a low heat.
Stir until the butter melts, add the Vanilla and mix well.


Sift the Sugar, Flour and Cocoa into a bowl.


Add the butter/milk mixture and beat well with a wooden spoon.
Pour mixture into prepared dish.
Sprinkle cocoa and brown sugar over the surface of the mixture.


Carefully pour the hot water over the top.


Bake for 40-45 minutes in the preheated oven.  (If you double the mixture as I have here, add an extra 15-20 minutes cooking time)  (Also if you double the mixture use a bigger casserole dish than I did lol,,,, mine made a bit of a mess in the oven whoops!,,,,I don't usually double the mix when I make it and I forgot to use the larger dish!!!!)


Instead of icecream, it also tastes great if you sprinkle the pudding with a little icing sugar and accompany it with a dollop of cream topped with a light sprinkle of cinnamon,,,,,YUM!

The single recipe will easily serve 4 people a fairly large serving.  I doubled the recipe this time when I made it as I wanted left overs but out of this casserole dish I have 9 serves of the size you see with the icecream.

Friday, 18 November 2011

BAKED CUSTARD CREAM


This recipe intrigued me with its name.  I love custard, creamy smooth custard, oh yum!!!  Baked custards always remind me of my Mum's Baked Custard and her Bread and Butter Puddings.  Sadly I don't have her recipe and every time I have attempted to make a Baked Custard it just never works out.  That is probably why I had never up to this point attempted this recipe.  Years of failures took away my confidence.

Well finally, I bit the bullet and gave this recipe a go, and I have to say, it is pretty yummy.  While it doesn't have the same sweetness as my Dear Old Mum's custard, it is smooth, oh so smooth!  It actually worked, I just couldn't believe it!  It is a bit more work than a normal baked custard but the fact that it worked made it a winner lol.


I had a little bit left in the big bowl and I couldn't resist finishing it off when the kids were at school the next day (No the "little bit left" isn't what you see pictured in the white bowl lol, it truly was only a spoonful or so left in the bowl when I attacked it :-)    ). 
So if you like really smooth custard that isn't sickly sweet, give this recipe a go.  The egg white gives it a slight crustiness on top and just adds another texture to it.


30 grams Butter
3 tablespoons Castor Sugar
2 eggs, separated
1 tablespoon Plain Flour
1 tablespoon Self Raising Flour
2 cups Milk
1 teaspoon Vanilla

Cream the butter and sugar until light and fluffy.
Add the egg yolks one at a time, beating well after each addition.
Add sifted flours, combine well.
Put milk in a small saucepan, stir over low heat until the milk reaches simmering point.
Remove the milk from the heat and stir in the vanilla.
Gradually beat the milk into the creamed butter/sugar mixture, beating all the time, mix well.
In a separate bowl, beat the egg whites until soft peaks form.
Gently fold the egg whites into the custard mixture.
Pour the custard into a lightly greased ovenproof dish.
Place into a large baking dish with enough hot water to come halfway up the sides of the dish containing the custard.
Bake in moderate oven for approximately 50-60 minutes or until the custard is firm

Serves 4-6

Wednesday, 9 November 2011

CARROT AND PINEAPPLE CAKE - THIS IS BEAUTIFUL!!!


Okay,,,,I think I have found a rival cake for my Anzac Cake.  I tried this cake on the weekend and it is simply yummo!!!  The best part about it is that even though I have a few kids that hate carrots and a couple that absolutely despise pineapple,,,,,,they ALL agreed tht this cake is beautiful!!!!

This mix made enough mixture for 2 log tins and 6 cupcake sized muffins.  The kids have been having a slice in their lunchboxes all week and they have already said that they want me to make another one for next week  (but now I am on a carrot cake roll and next week I want to try another recipe lol!!)


CARROT AND PINEAPPLE CAKE

CAKE
3 Cups Self Raising Flour
2 Cups Caster Sugar
1 teaspoon Salt
1 cup Crushed Pineapple (undrained)
1 cup chopped Walnuts (I used Almonds)
2 cups shredded Carrot
4 Eggs
1 cup Oil
1 cup Cold Water
1 teaspoon Vanilla Essence

ICING
90 grams softened Cream Cheese
1/2 cup softened Butter or Margarine
4 cups Icing Sugar
1 teaspoon Vanilla Essence
2-3 teaspoons grated orange rind (I left this out because I didnt' have an orange)
About 3 tablespoons Orange Juice

In a large bowl (this makes alot of mixture so make sure it is a very large bowl!), mix all the cake ingredients together.
Beat together well with a spoon until well mixed.
Grease and flour 2 loaf tins or one 10 inch square tin.
Bake in a moderate oven for 90 minutes, or until a skewer comes out clean.
Cool in tins before turning out.

ICING
Beat all ingredients until the mixture is fluffy and of spreading consistency.
If necessary, stir in a little additional orange juice, 1 teaspoon at a time.


Don't tell the kids what is in the cake until after they have tried it lol!!!  
(I know I am such a mean mother :-)    )

Monday, 7 November 2011

Ginger Honey Lemon Sauce........so yummy

I apologise for the lack of posts lately.  I have had a bit of a cooking flop period I believe lol.  I have tried quite a few new to me recipes but none have been particularly inspiring at all.  Don't get me wrong, its not like they have been so bad that the dogs have had to step in and save the day lol, but they haven't been recipes that we have gone "Oh that was so good, we have to have that one again" type of things.

Having said that, on the weekend I had a chance to try out 3 new recipes.  One was a cake which was really yummy and I will be posting the recipe for that tomorrow.  Another was a kind of baked custard which, although nice needs a bit of tweaking to make it stand out,,,it was rather bland.  I may make a few alterations and try it again, then maybe it may be worthy of blogging lol.

The third recipe was supposedly a Honey Lemon Chicken.  Well once I began the sauce I just knew it was more like a Ginger Honey Lemon Chicken lol.  I am only posting the recipe for the sauce here.  The part of the recipe for the chicken just didn't really work out.  The chicken looked pretty horrible lol and I sure don't want to put you off making the sauce just because of the look of the chicken on the plate.  Thankfully the meal was edible though and the sauce made it all better!!

If you are a fan of Honey Chicken, Lemon Chicken and/or just enjoy Ginger flavoured things then this one is for you.  Make up your chicken however you would like and then use this over the top or as a dipping sauce it really is quite yummy and very easy to make!!


GINGER HONEY LEMON SAUCE

1/2 Cup Honey
1/2 Cup Chicken Stock
Juice of 1 Lemon (I used 3 tablespoons of juice from a bottle)
5cm piece of Ginger, thinly shredded
2 teaspoons of Cornflour
1 tablespoon Sherry

Put the Honey, Chicken Stock, Lemon Juice and Ginger in a small heavy based saucepan.
Stir to combine, bring slowly to the boil, then reduce to a simmer and cook for 3-4 minutes.
Mix the cornflour and Sherry thoroughly together to form a smooth mixture.
Add the Sherry mix to the honey/ginger mixture and stir continuously until the mix comes to a boil.
Reduce to a simmer again and allow to cook for a further 3-4 minutes.
Serve with your chicken and enjoy!

Tuesday, 1 November 2011

APPLE CREAM DONUT BALLS

I know this is yet another sweet recipe but hey, we all need a treat from time to time.  Besides, when I make up treats I'm usually not as rushed as when I make main meals and I usually manage to remember to take a couple of photos lol.


These donut balls which taste really yummy with icecream by the way, are really nice.  Well worth the effort it takes to stand at the deep fryer in order to make up the full recipe.  Truly this recipe gave me about 100 balls.  It took quite a while but it was well worth it according to the family.  They freeze well and I found that simply zapping them in the microwave for about 15 seconds made them lovely and soft.

APPLE CREAM DONUT BALLS

5 Eggs, beaten
2 cups Sugar
1 cup Whipped Cream
1 & 3/4 cups Buttermilk
1 & 1/2 cups grated raw Apples
2 teaspoons Baking Soda
1 teaspoon Salt
1 teaspoon Cinnamon
1/2 teaspoon Nutmeg
7 cups Flour

Beat the eggs, add the sugar and beat well.
Add the remaining ingredients in the order given.
Drop by teaspoon into hot fat (400 degrees).
Fry till golden brown all over.
(Check to see if they are cooked all the way through with the first couple to better guage the time it takes)
Drain on paper towel.
Serve plain or roll in sugar.

(As you can see our family loves the sugar coated variety,,,,,,we used a mix of icing sugar, granulated sugar and caster sugar with a little cinnamon added)


Tuesday, 25 October 2011

Masterpiece Cheesecake


 Okay, well I don't know about a masterpiece lol,, but this cheesecake was pretty darn yummy!!  I only had a small springform pan and hence, our base was a little on the thick side, but this was quite honestly a really tasty cheesecake.

I made this during the school holidays with a houseful of kids running around and my brain was pretty much not in functioning mode, hence the extra thick base and then my oven decided that it wanted to play up on me as well, but somehow this cheesecake came out really nicely.

This is a baked cheesecake and even though mine wasn't quite cooked long enough, it made no real difference.  It was truly delicious!!


MASTERPIECE CHEESECAKE

BASE
2 cups Biscuit Crumbs
1/4 cup Melted Butter
1/3 cup Icing Sugar
2 tablespoons flour

Mix well and press into a greased spring form pan (grease the bottom of the pan only).  Place in the fridge to set while you make the filling.

FILLING
450 grams Cream Cheese
3 Eggs
1/2 cup Sugar

Beat well and pour onto the pie base.

Bake in 180C degree oven for 20 minutes ONLY.
Remove and cool.
Decorate with whatever fruit you have on hand, or simply leave it plain.

ENJOY!!!


Monday, 24 October 2011

Naughty But Nice - ANGEL FOOD DONUTS

We have a deep fryer in our house and each time we change the oil (this never happens as often as it should lol), I like to use the clean fresh oil to make donuts.  I haven't made a batch for a while and this time I thought I would try out a new recipe for them.

This was a simple recipe to make and was a hit with the kids.  

ANGEL FOOD DONUTS
(Makes about 30 donuts)

3/4 Cup Sour Cream
1/4 Milk
1 Cup Sugar
3 large Eggs
1 Teaspoon Vanilla
4 Cups sifted Flour
2 teaspoons Baking Powder
1/2 teaspoon Nutmeg
1/2 teaspoon Baking Soda
1/2 teaspoon Salt

Combine the sour cream and milk - beat until foamy.
Gradually add the sugar and eggs, beating until sugar is dissolved.
Stir in the vanilla and dry ingredients.
Chill in the fridge for 1 hour.

Roll out to about 1cm or so thick.


Cut out the donuts (I used a scone cutter and a soft drink bottle lid)


Deep fry, turning gently when lightly browned.
The kids helped to sugar these.  We used a mixture of white sugar, caster sugar and icing sugar with a touch of cinnamon added.


We found these were even yummier the following day after being placed in the freezer overnight then defrosted and zapped in the microwave for about 20 seconds.  
Served with icecream - DELICIOUS!!

Monday, 17 October 2011

Recipe calls it CANTONESE PORK,,,Kids Call it TASTY PORK STUFF lol


Okay now I know this doesn't look great, it's not necessarily a "pretty" looking meal, but it does have flavour!  Being a slow cooker meal it is so, so easy and takes very little time to prepare.  This is the kind of meal that I love to make during school holidays.

I always get a little nervous when I try out new recipes on the kids, I look at it as I am preparing it, thoughts running through my mind of what I can offer as a back up in case it is a total failure....thankfully the kids have surprised me and loved all the new recipes I have tried so far.  This one was no exception.  My little Shortstuff kept declaring that he didn't think he would like it, but as the aroma started to fill the house as it was cooking he slowly but surely changed his mind and kept asking how long it was until he could try it lol.  Of course serving it up with rice makes it a nice filling meal that even filled the teenagers and men of the house!

Okay here is the recipe.....

TASTY PORK STUFF

1kg pork loin, sliced and diced into bite sized pieces
2 large onions, sliced
1 large green capsicum, cut into strips
1 large carrot, cut julienne style
200 grams mushrooms, sliced
500ml bottle of tomato puree
6 Tablespoons vinegar
Dash of Salt
4 teaspoons Worcestshire Sauce

Place it all in the slow cooker and cook on low for approx 6 hours (depending on your slow cooker).
Serve over hot fluffy rice.

What could be more simple???  I never brown my meat before slow cooking but you can if you want to.

Wednesday, 5 October 2011

CHOCOLATE CHIP COOKIES........MADE BY THE 11 YEAR OLD

Yesterday Smiley decided that he was bored and wanted to bake some cookies....chocolate chip ones no less!


A few months ago he made the same cookies.  At the time he misread the ingredients list and added 3/4 cup of flour to the mixture instead of 3 and 3/4 cups and because of that his chocolate chips melted into the mixture......yesterday we both couldn't believe it when he did the exact same thing lol.  I may have to take a highlighter to the recipe and highlight that magical number 3 that seems to blend into the page it seems!

Nevertheless, the cookies were yummy even if they were a little short on actual chocolate chips and looked more like chocolate cookies instead lol.


CHOCOLATE CHIP COOKIES

250 grams butter
1 Cup brown sugar
2 eggs
3 3/4 Cups Self Raising Flour
1 Cup Chocolate Chips

Melt the butter.  
Mix the melted butter with the sugar, then add the eggs one at a time, beating well.  
Add flour and chocolate chips.
Drop teaspoonfulls onto greased trays and cook for 10-15 minutes.  
Makes approximately 40 biscuits.

Tuesday, 4 October 2011

Crumbed Sausages


I have been a bit slack with the cooking lately.  Well I mean, naturally I have been cooking but we have reverted back to our old cooking recipes for the moment.  Not much in the way of new stuff has been tried, life has been a little busy and it is always alot easier to throw together something you have made hundreds of times rather than to try a brand new recipe don't you think?
The other night we made up some crumbed sausages.  This is a meal that is quick and easy to make and the kids always love them.  Nothing could honestly be much simpler than making these and I especially like the fact that it is so easy to whip up a double batch and put some in the freezer for next time.


CRUMBED SAUSAGES
1kg sausage mince
Breadcrumbs
Garlic Powder
Bush Spices (or whatever herbs/spices you have on hand or your family likes)
Salt and pepper to taste

In a bowl, place sausage mince and sprinkle on garlic powder, bush spices and salt and pepper.  There are no real measurements, just go by sight and smell, adding more if necessary as you mix.
Using your hands, mix all thoroughly together.
Shape into small sausage shapes and roll in breadcrumbs, coating them well.
Deep fry until golden brown and then place into a 150 degree oven to keep warm and to continue cooking.
Serve with Mashed Potato and Vegetables.

You can use whatever herbs/spices you have on hand or like in your snags.  These are our favourites at the moment.

Thursday, 22 September 2011

Anzac Muffins

My Mr14 came home sick on Monday, severe hayfever.  Poor guy looked really shattered, so I thought I would bake him something he loves, while still trying out a new to me recipe.  I intended to bake him some Anzac Biscuits but came across this recipe for Anzac Muffins which I hadn't tried out before.  Well going by the fact that out of 12 muffins, I now have none left and I had kids asking where their muffin was this morning after I had packed their lunch box, I guess you can safely assume that they really liked them.  I didn't even get to try one myself, but I did sample a crumb and they tasted very ANZAC-y lol.


So here is the recipe,,,,,I may well have to bake another batch just to try these lol.


ANZAC MUFFINS

1 teaspoon Baking Soda
3/4 cup Warm Milk
50 grams Butter, melted
2 tablespoons Golden Syrup
2/3 cup Brown Sugar
1/2 cup Dessicated Coconut
1 teaspoon Baking Powder
1/2 cup Rolled Oats
1 Egg
2 cups Plain Flour

Dissolve the Baking Soda in the Milk and then add the melted butter, golden syrup and brown sugar.
Mix well.
Add remaining ingredients, stir until just combined.


Three quarters fill each hole in a well greased muffin pan and bake at 190 degrees Celcius for 15-20 minutes.


I think these would be rather nice with a dollop of thickened cream next to them,,,,maybe I will get to try this myself next time lol.

Monday, 19 September 2011

Asian Style Chicken and Pasta Salad

OMG!!!  This dish is absolutely to die for!!


This was a first time try at this recipe last night and I just have to say that I can't wait until it is lunchtime so that I can have some more lol.   I haven't tried any with the kids yet (we were child free for a couple of hours last night) so I don't know their verdict but I have a feeling they may even like this too!!

If there is one recipe on this blog that you try, make it this one, I am sure you will agree it is totally YUMMY!!!  Of course, the best part of it being a salad you can always add in extra salad ingredients, we added in a little cabbage as well.

ASIAN CHICKEN AND PASTA SALAD

1 cup Coconut Cream
3 tablespoons Kecap Manis
Juice of 2 Limes
2 Garlic Cloves, crushed
2 Chillies, finely sliced (I just used 2 tablespoons of Chilli Sauce)
1 tablespoon freshly grated Ginger
2 tablespoons freshly chopped Coriander
4 skinless Chicken Breasts, sliced into strips
2 cups uncooked Pasta Spirals
8 Snowpeas, sliced
1-2 Carrots, sliced julienne style
Handful of Bean Shoots
12 Cherry Tomatoes, quartered
Large Handful of Wild Rocket
1/2 Avocado, chopped

Whisk up the Coconut Cream, Kecap Manis, Lime Juice, Garlic, Chilli Sauce, Ginger and Coriander to form a marinade.
Pour 2/3rd of the marinade over the chicken, reserving the rest of the marinade to be used as a dressing.
Gently mix through to ensure all the chicken is covered, cover the bowl and place in fridge for 2-3 hours.
When ready to cook, boil the pasta until tender.
Pan fry the chicken in a non stick pan, adding the marinade a little at a time as the chicken cooks.  Be careful not to burn the chicken!
Blanch the snowpeas, carrots and bean shoots (and cabbage if you added some :-)   )  Drain well.
Place the Tomatoes, Rocket and Avocado in a large bowl and toss with the cooked vegetables.  Add the pasta and toss through.
Serve onto your serving plates, placing the chicken pieces on top.
Dress with a drizzle of the reserved marinade.


Enjoy!!!
This recipe easily serves 4 adults as a main course.